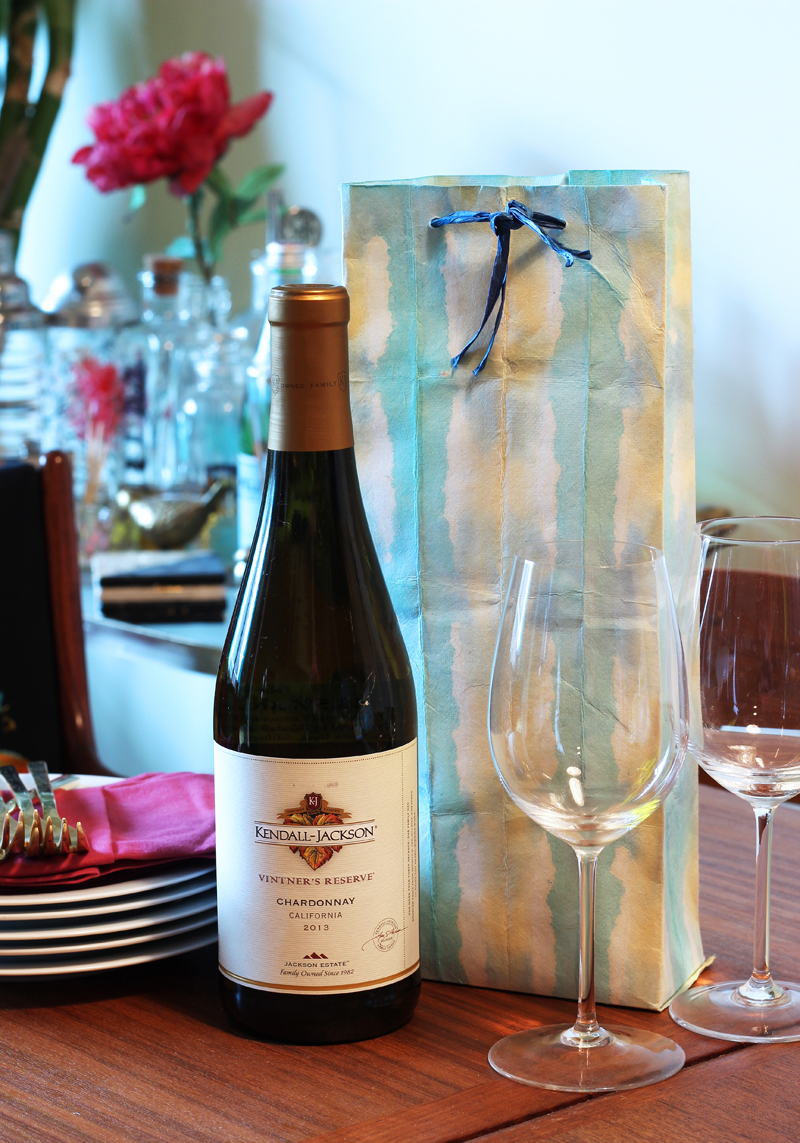
DIY: Watercolor Paper Wine Bag
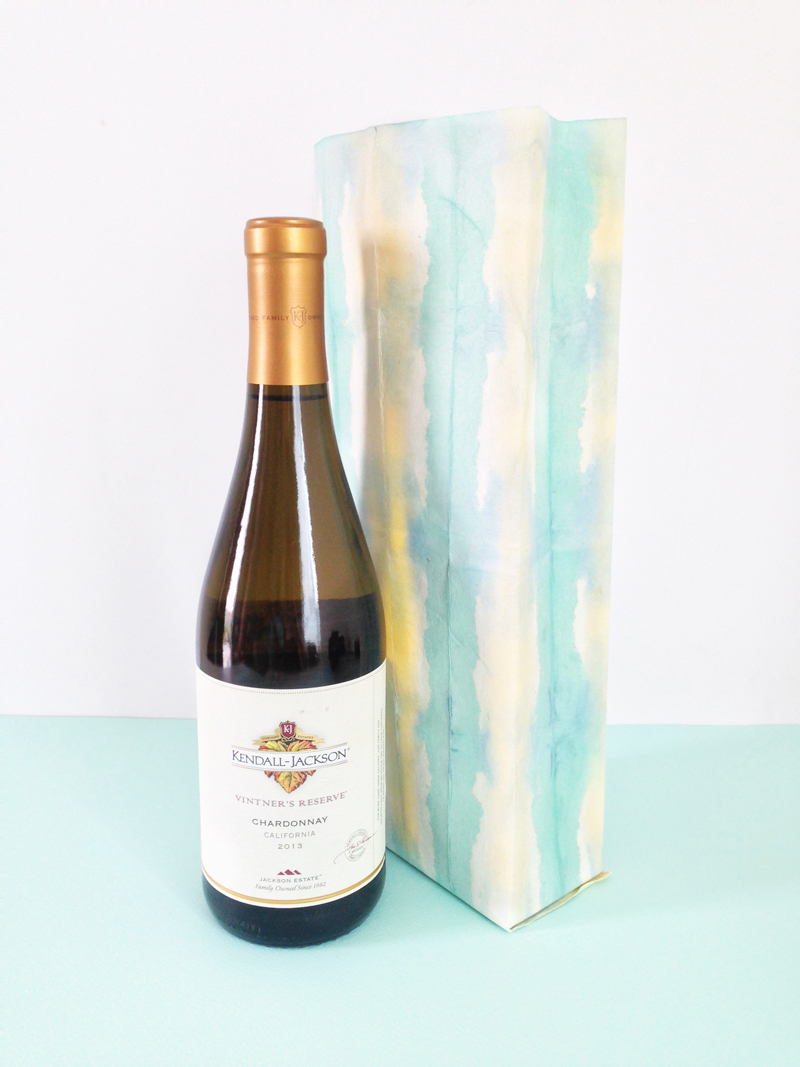
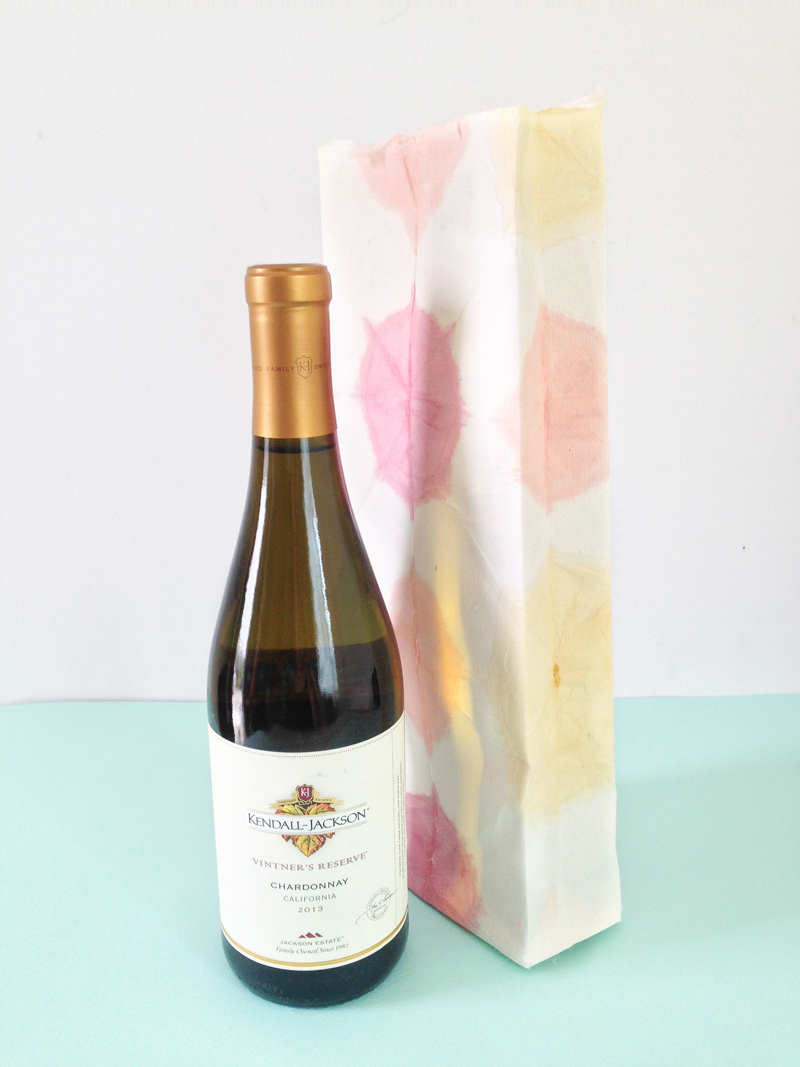
Hi there, Melissa from The Sweet Escape here. I had so much fun hosting my last patio wine & dine event and creating some delicious recipes with Kendall-Jackson that I’m back with more creative inspiration for you. This time I thought I would share a DIY project that will definitely make you a popular and memorable dinner guest. I’m going to show you how to make these beautiful and one-of-a-kind watercolored, dyed paper wine bags. 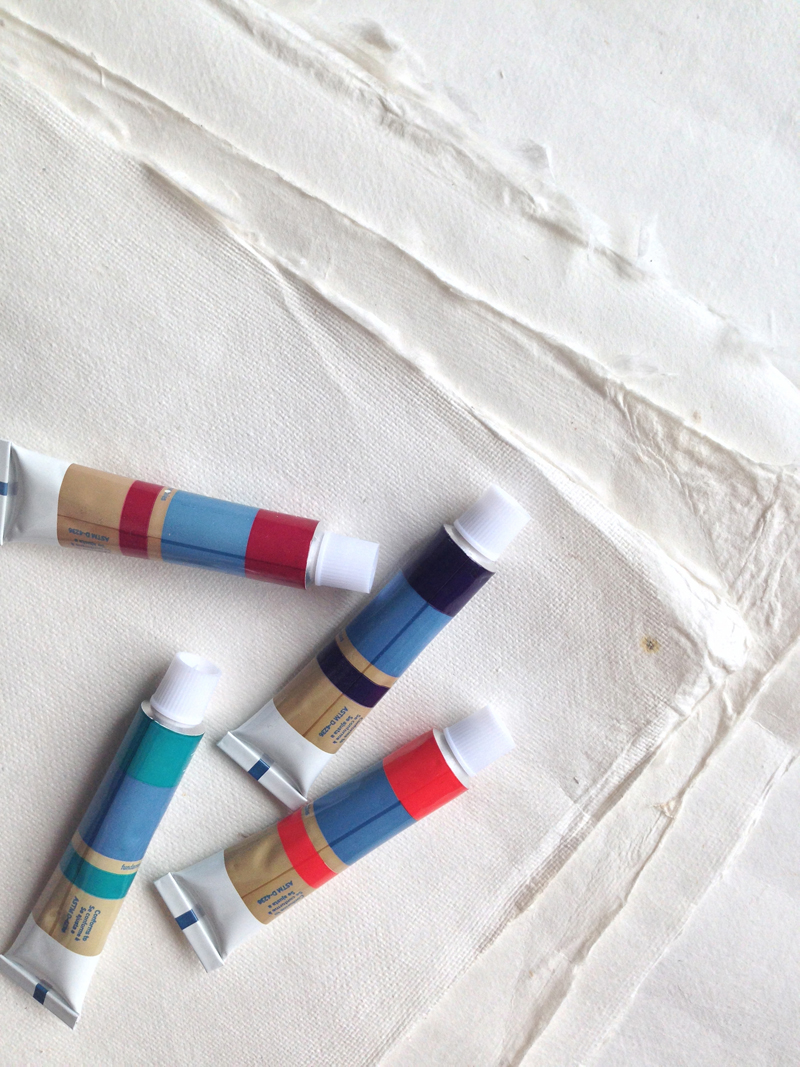
WHAT YOU’LL NEED:
• thick natural made paper in white
• watercolor paint
• glue (preferably a hot glue gun)
• bowls/glasses for each color
• tray & paper towel
The paper usually comes in large sheets so I cut each one in half. Your length should be about 20″ wide and a few inches higher than a standard wine bottle. You can fold the paper in many different ways but I really like just doing a basic accordion fold. Then fold that a few times until you have one big folded bunch like this. It doesn’t need to be perfect. 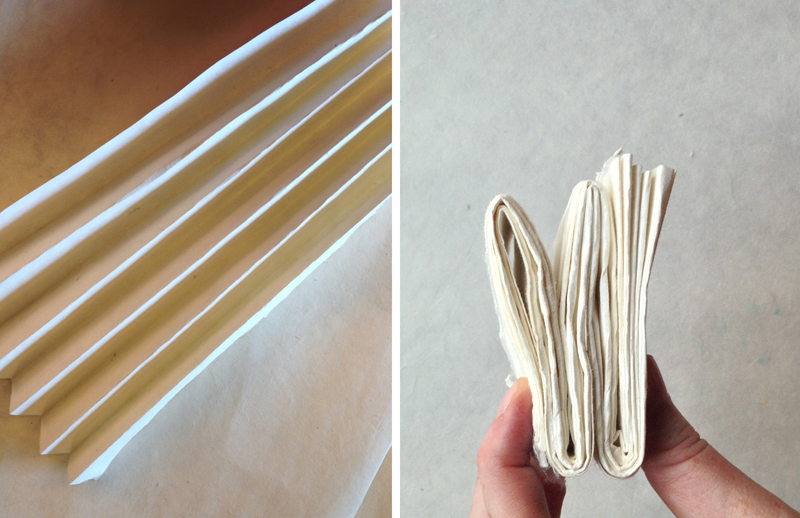 Next it’s time to mix up your pretty paint colors. Just add the watercolor paints to some warm water. The more paint you add, the stronger the colour will be obviously. So if you want a really soft watercolor look, start with a small amount. It’s smart to test out the color on a scrap piece of paper if you’re only making one.
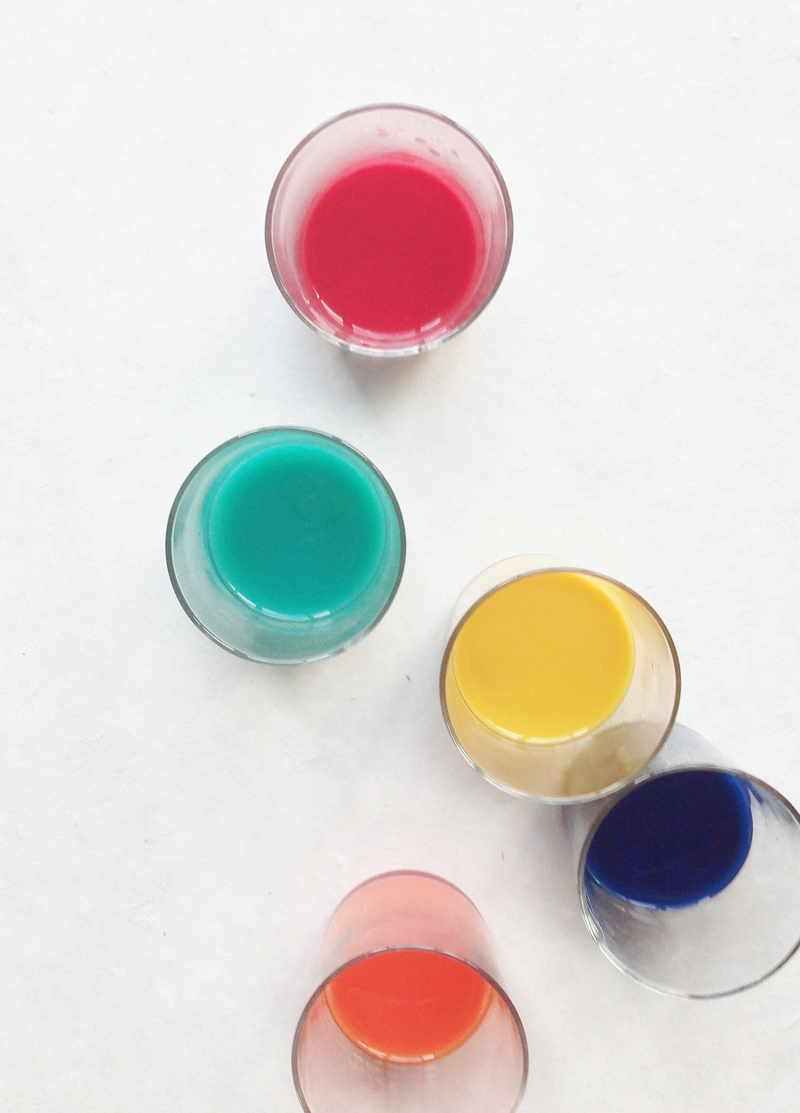
Then you start playing and experimenting with dipping the paper into the water. Just a note, the paper will absorb the water very quickly so slow is good or else before you know it your whole paper is one color.
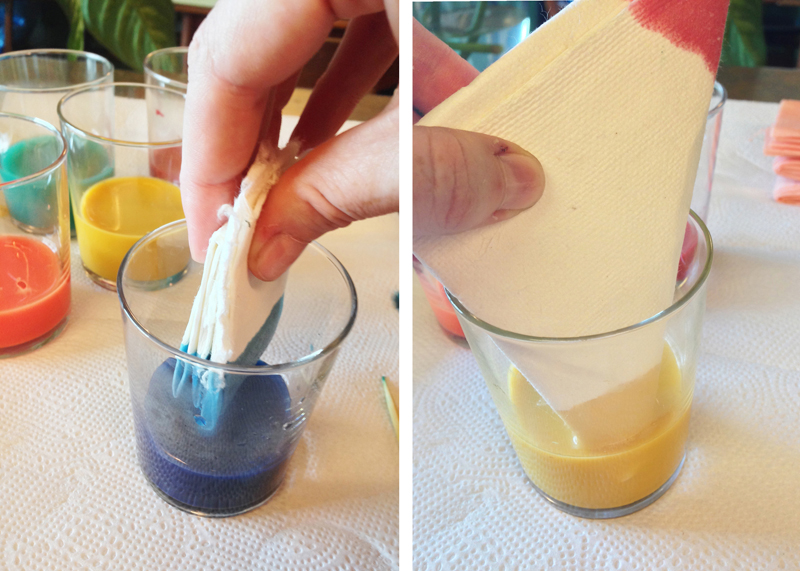 It’s pretty addicting – there’s so many color combos and options. Try a different fold with your paper for a different paint pattern. You can also try overlapping some colors but I suggest letting the paper dry a bit between dips to avoid lots of color bleeding. Each one is totally unique! Leave them folded and let them try on a paper towel lined tray for 24 hours then when you open them up you’ll have something like this!
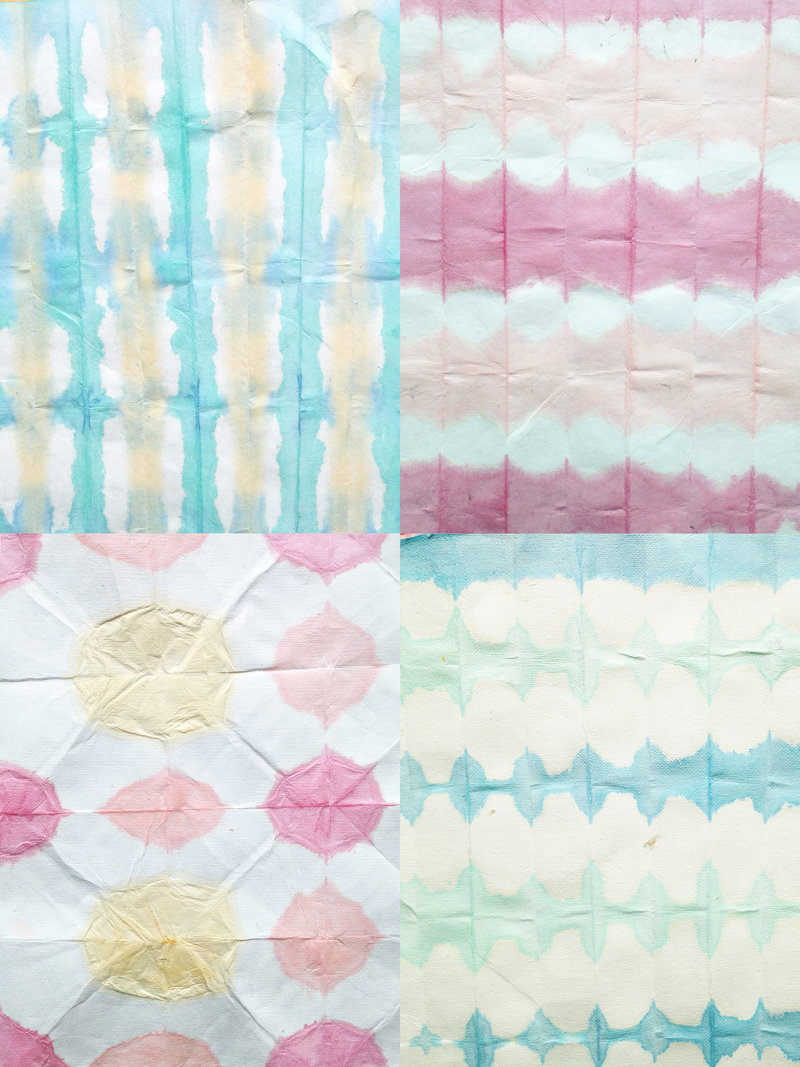 Isn’t that fun?!? I mean, we’re making wine bags but stick these in a frame and you have some beautiful artwork for your space. Give them a quick iron on low setting to flatten them out a bit to make them easier to work with.
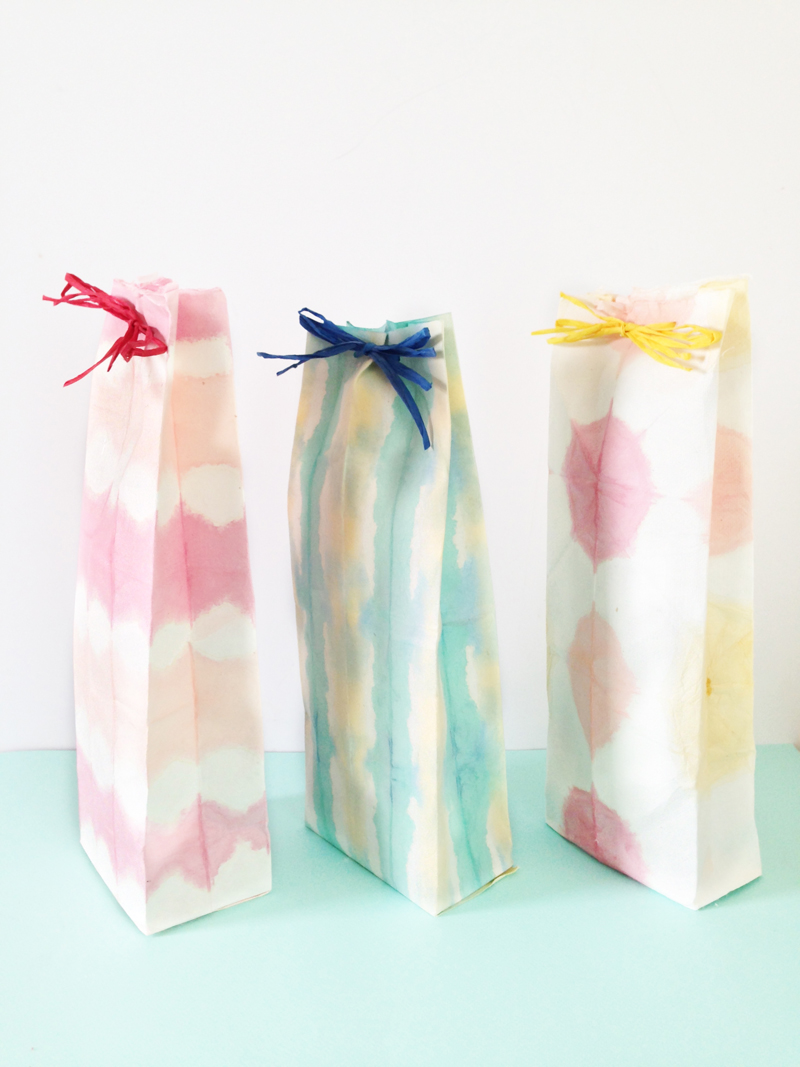
Now for the bag part – here’s a visual tutorial. Just remember that it’s more of a guideline and you can adjust the size to your liking — if you’re a sewing pro, you can use this paper like fabric and create a simple bag in any shape you like. Remember to leave a .5″ tab to glue the seam. 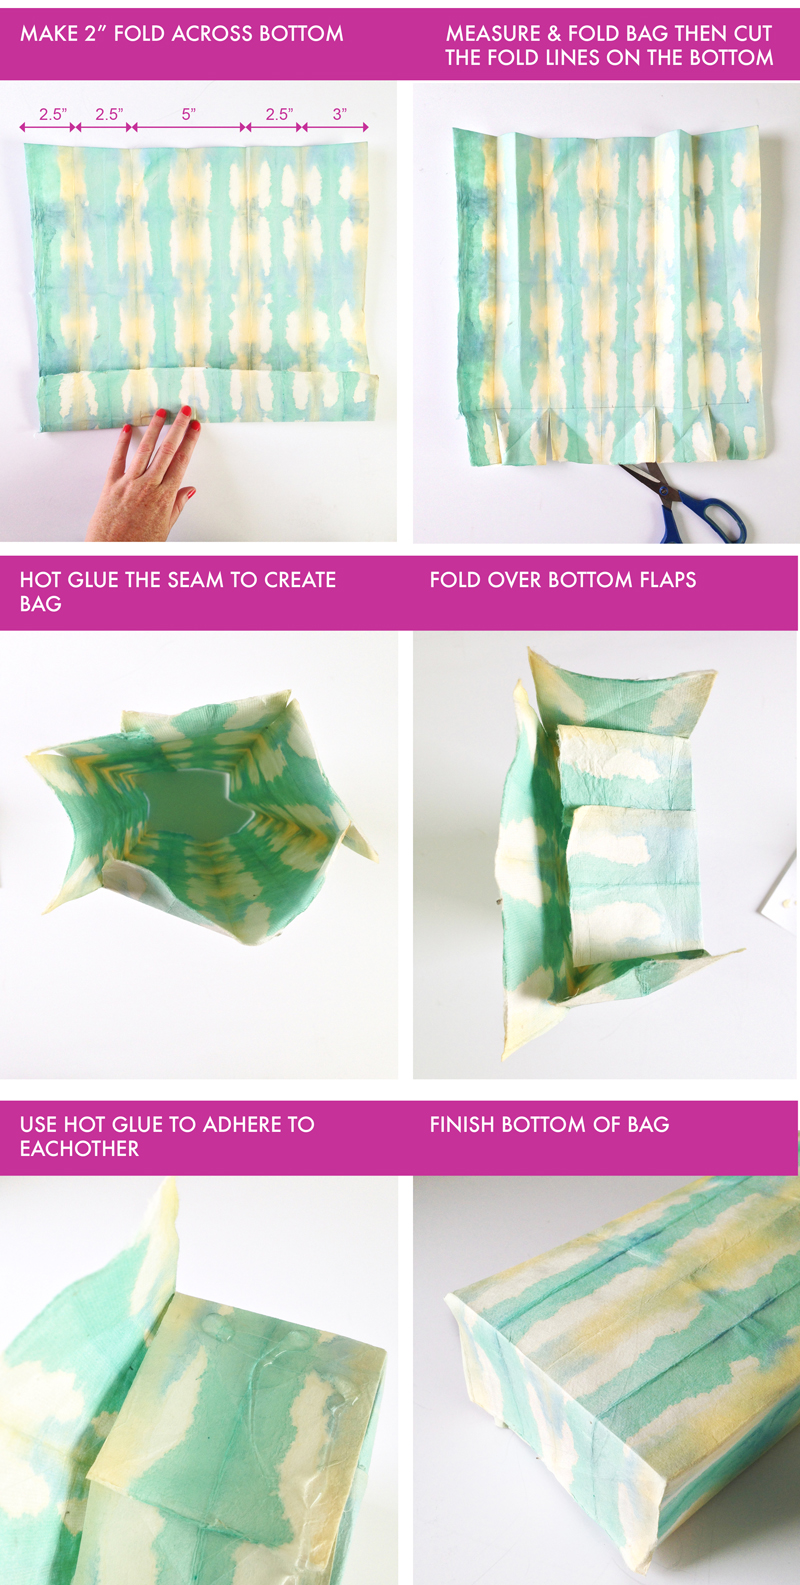 Not too bad right? When you’re done, you’ll have a beautiful collection of artistic wine bags ready to be filled with a delicious Kendall-Jackson selection for your next dinner party.
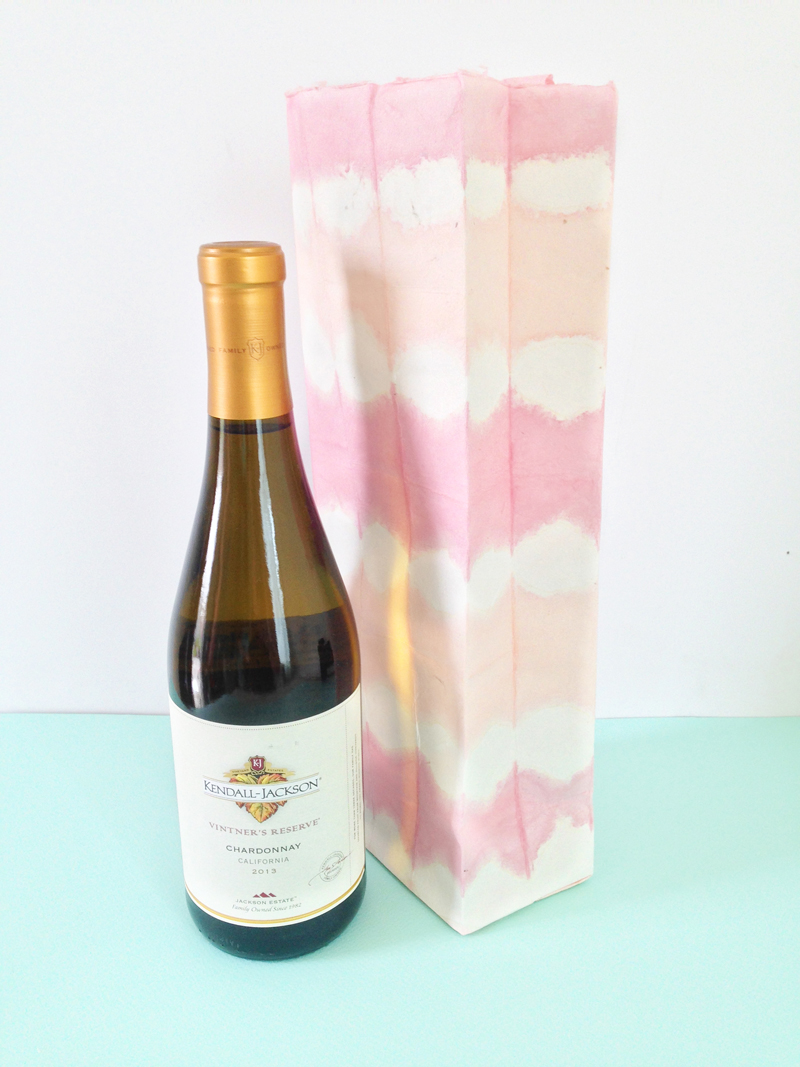
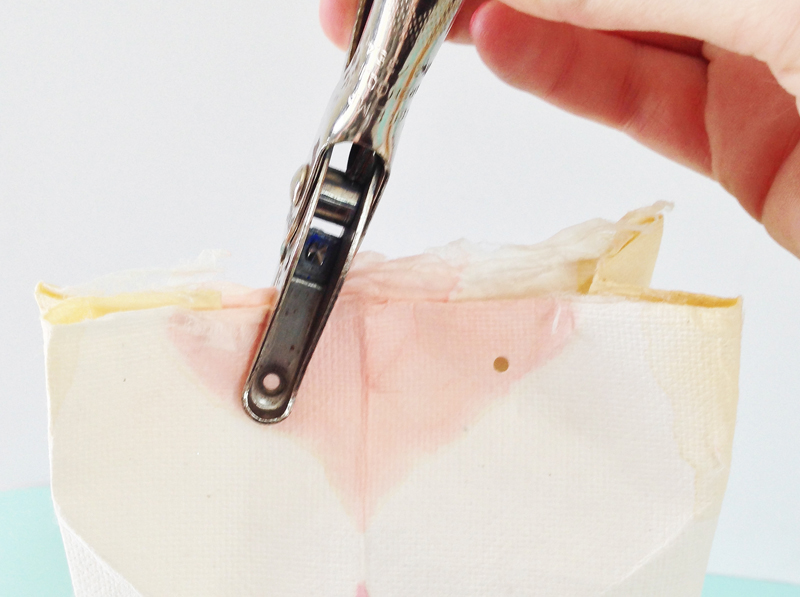
 Add a few hole punches for some ribbon or twine to complete the look.
 Cheers!