Make Your Own Holiday Wine Ornaments
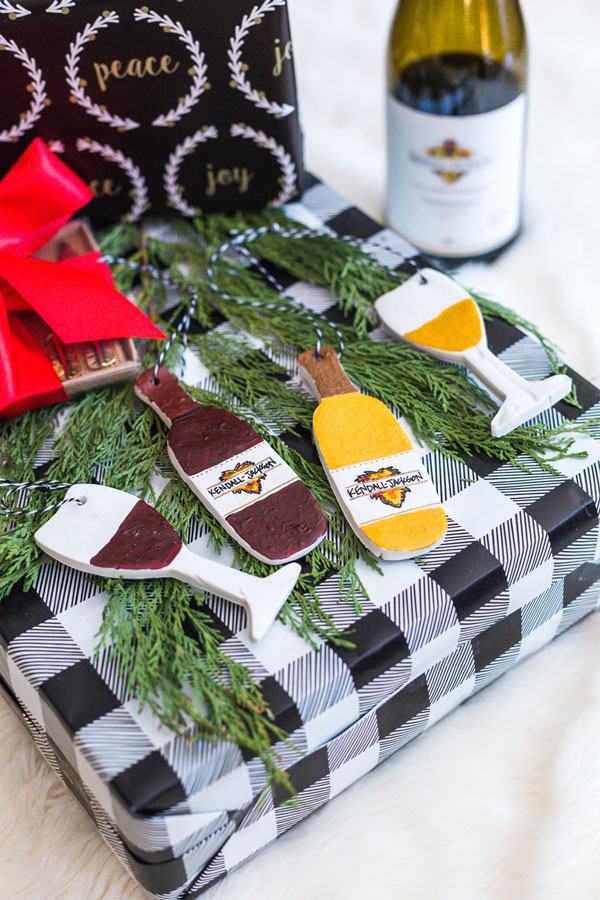
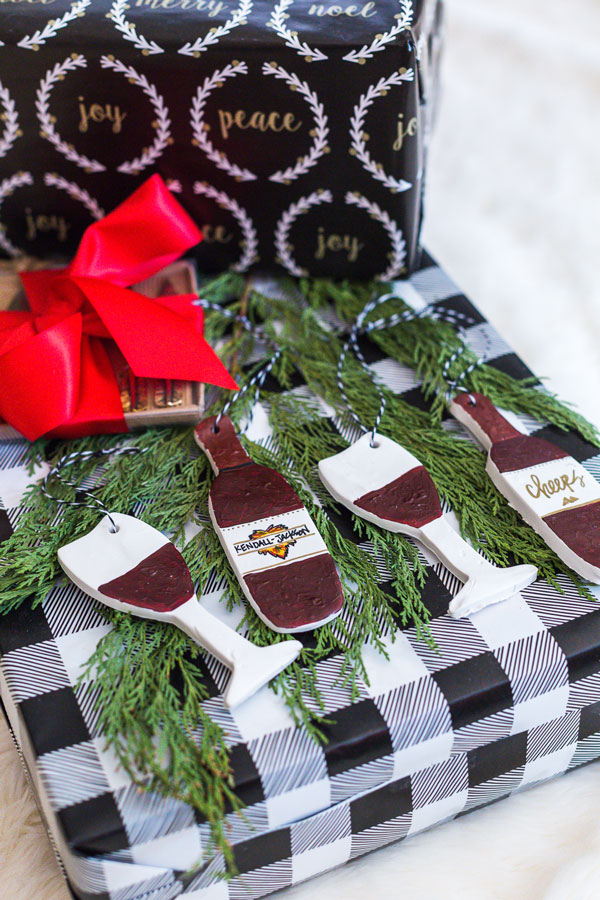
Get in the festive spirit of the season by embracing your crafty side and make your own holiday wine ornaments.
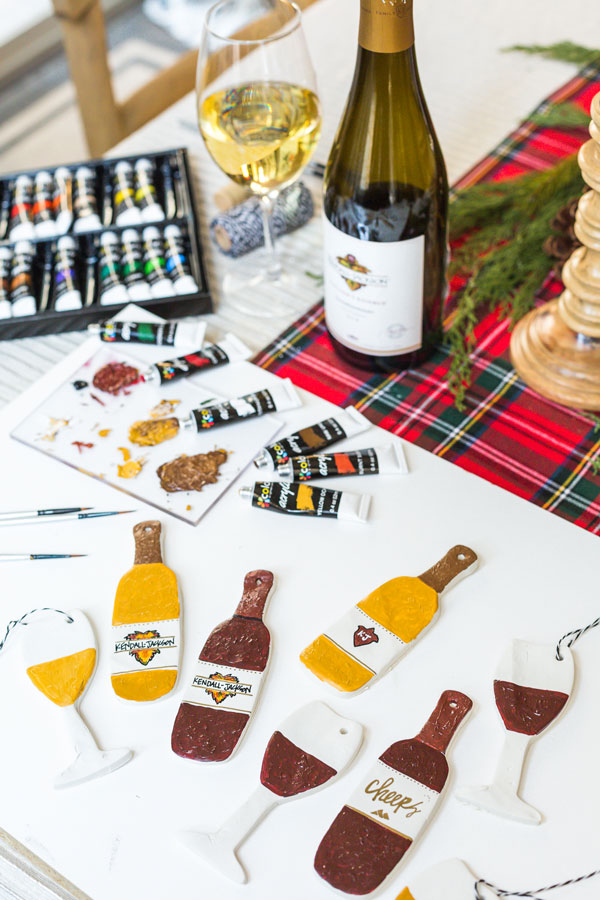
For so many of us, the holiday season is often quite frantic with busy schedules and a mile long to-do list. I try to stop and embrace the festivities by indulging in my inner crafty side with fun projects that are perfect for holiday gifts or holiday decor. Bonus if it works for both! Since I was feeling quite eager to utilize my paint brushes, I decided to make some fun holiday wine ornaments that would be great as gift tags on a Christmas present or hung up to decorate the tree. I even love to utilize extra holiday ornaments around the house for added festive decor!
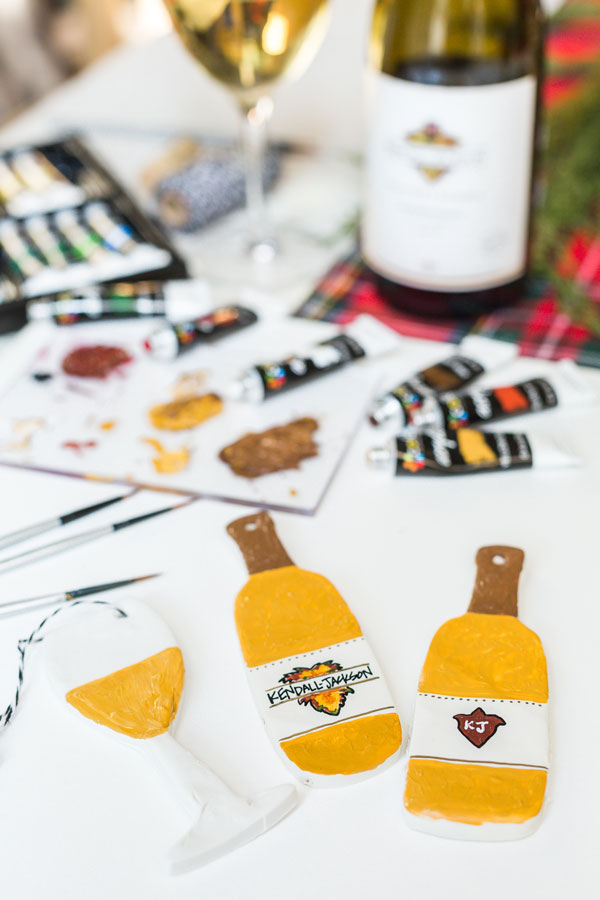
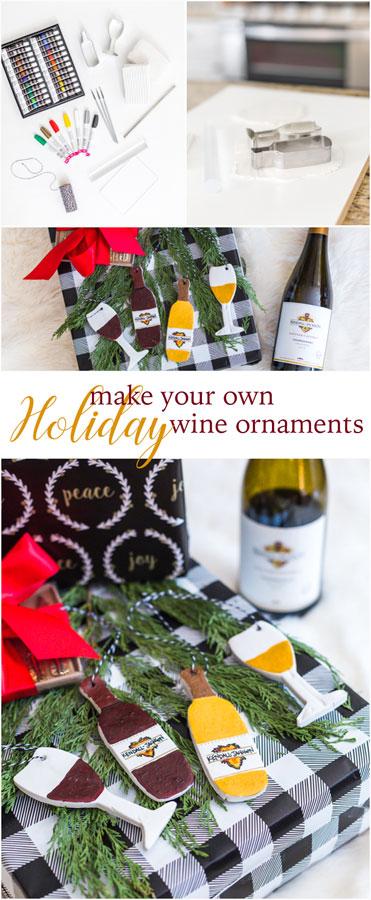
All that’s required for this project is some oven baked clay, a rolling pin, a few wine shaped cookie cutters and either acrylic paint or markers. The rest is up to your imagination!
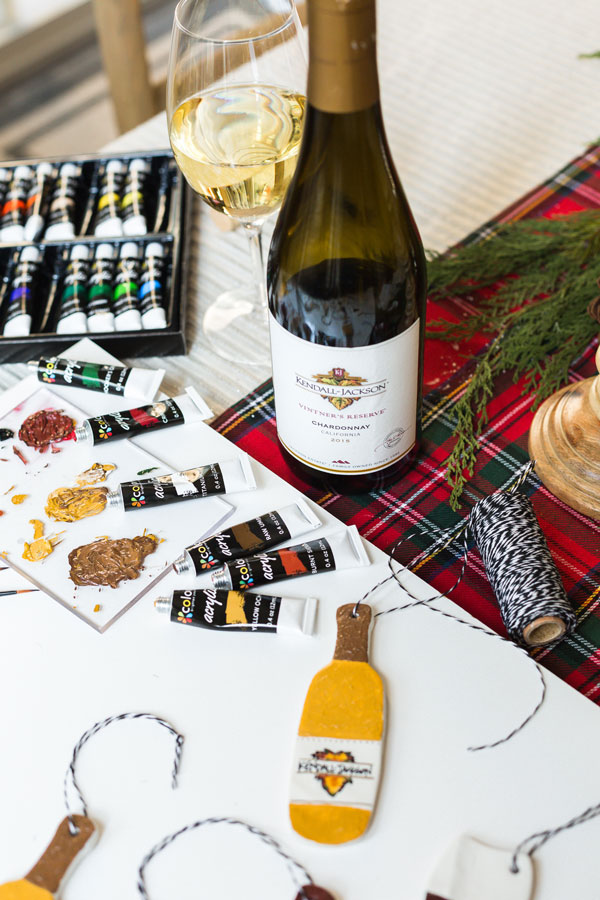
Holiday Wine Ornaments DIY
Supplies:
- Stainless steel wine shaped cookie cutters (bottle and glass)
- 1-pound Sculpey original polymer clay
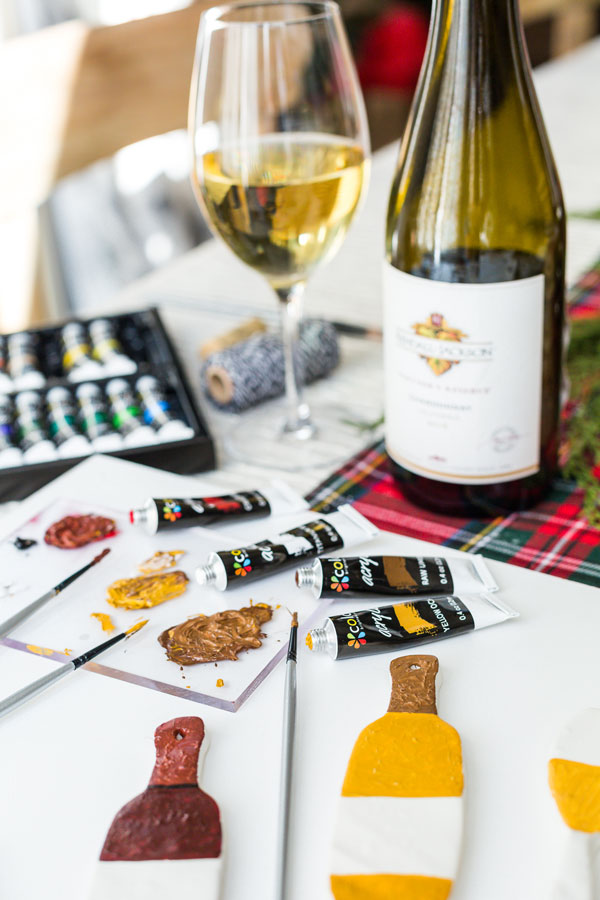
- Acrylic paint set
- Extra fine acrylic paintbrushes
- Extra fine paint markers
- Optional: acrylic clay roller with acrylic sheet backing board
- Straw
- Ribbon
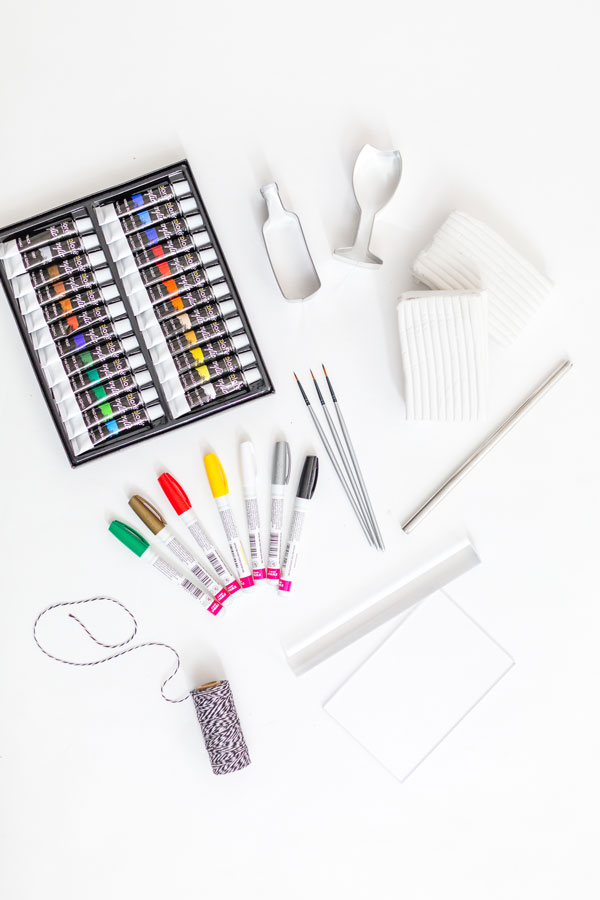
Directions:
1. Start by kneading clay until soft and smooth.
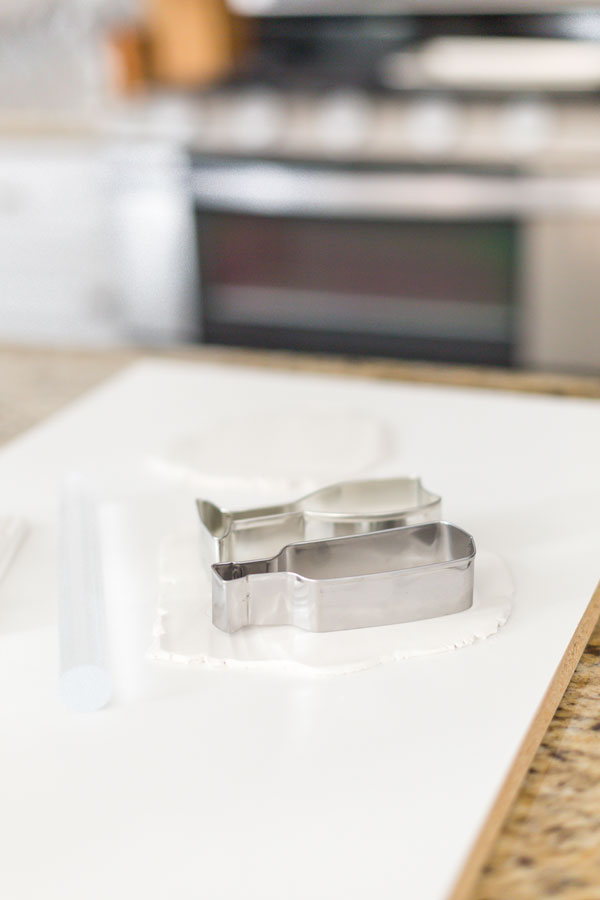
2. On a clean, flat surface start by rolling out the Sculpey clay. It should be a thin, even sheet of about 5/8” thick. Not too thin, not too thick.
3. Using the wine bottle and wine glass cookie cutters, start to cut out a handful of shapes.
4. Next, poke holes in the top with a straw. This will be used to tie a ribbon to make an ornament.
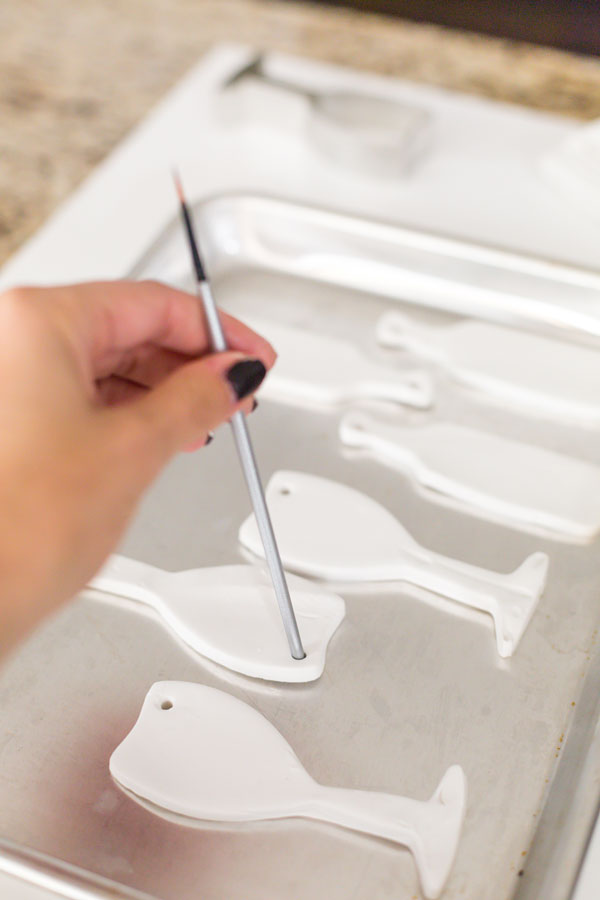
5. Bake according to the directions on the package of the clay. The Sculpey clay indicates that baking should be on an ovenproof glass or metal surface at 275° for 30-35 minutes.
6. Remove from oven and let cool completely.
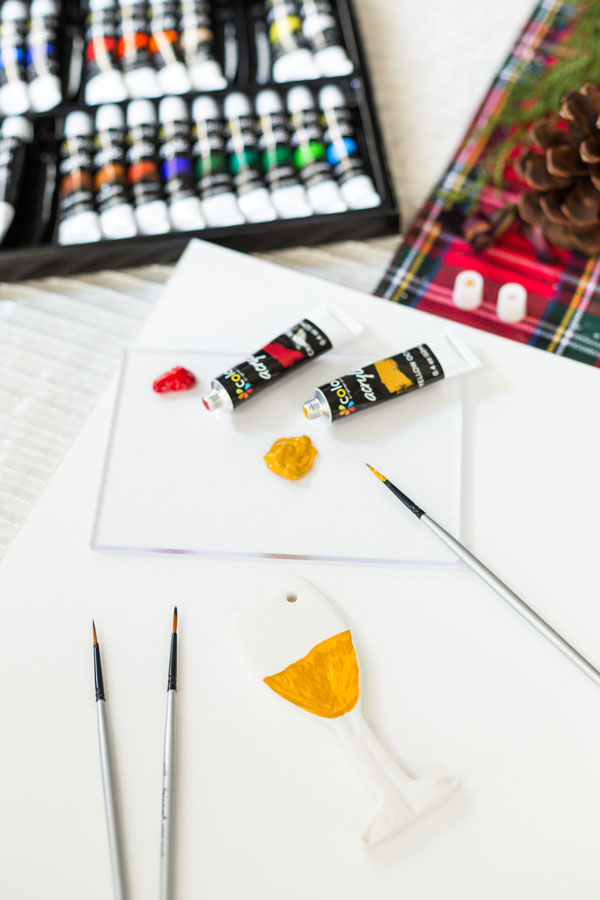
7. Now it’s time to design to your holiday wine ornaments. Have fun and get creative. Use a mix of acrylic paints with extra fine paint brushes for small details or you can add some of those details with extra fine paint markers.
8. Let dry completely and then finish off with a piece of ribbon tied at the top. Tip — you can also wait and tie the ribbon on after you finish painting the ornaments.
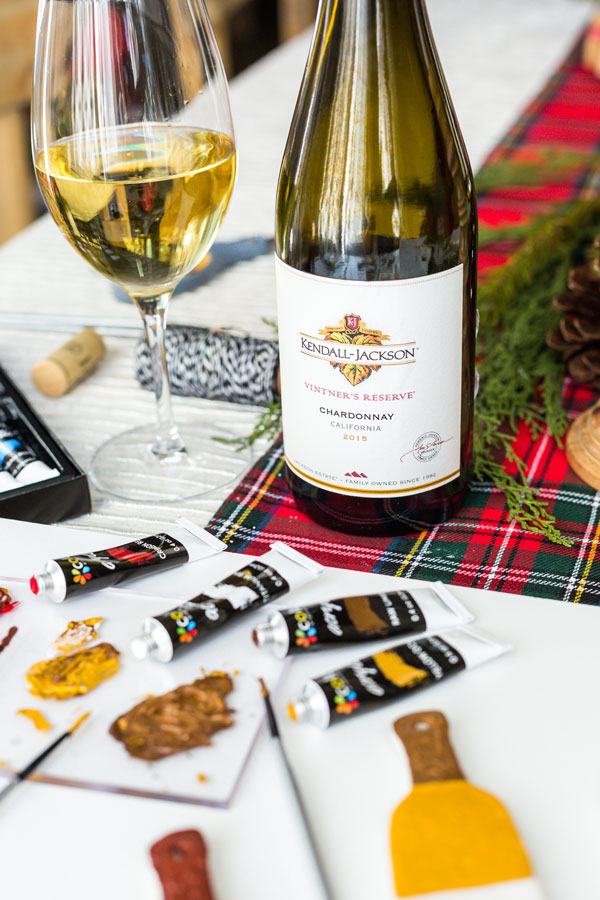
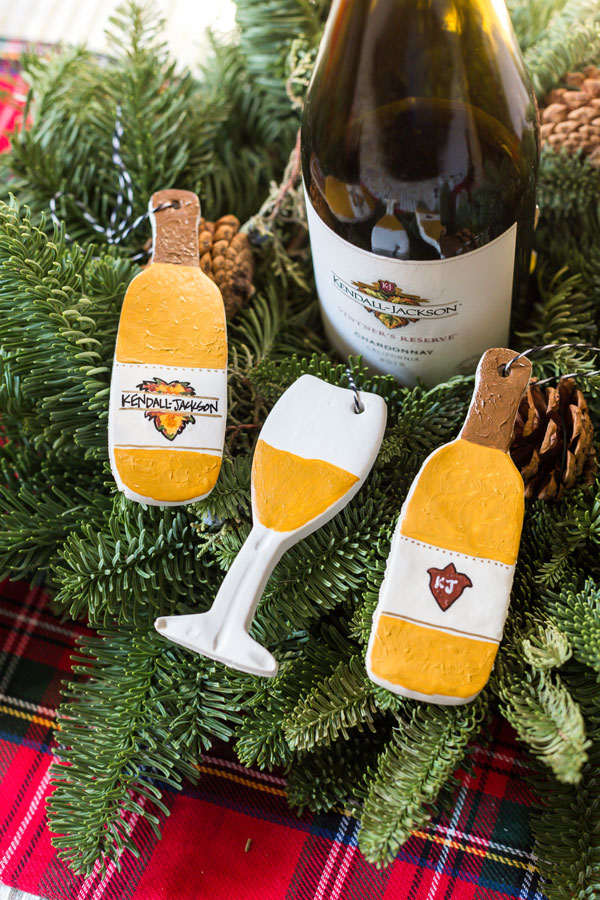
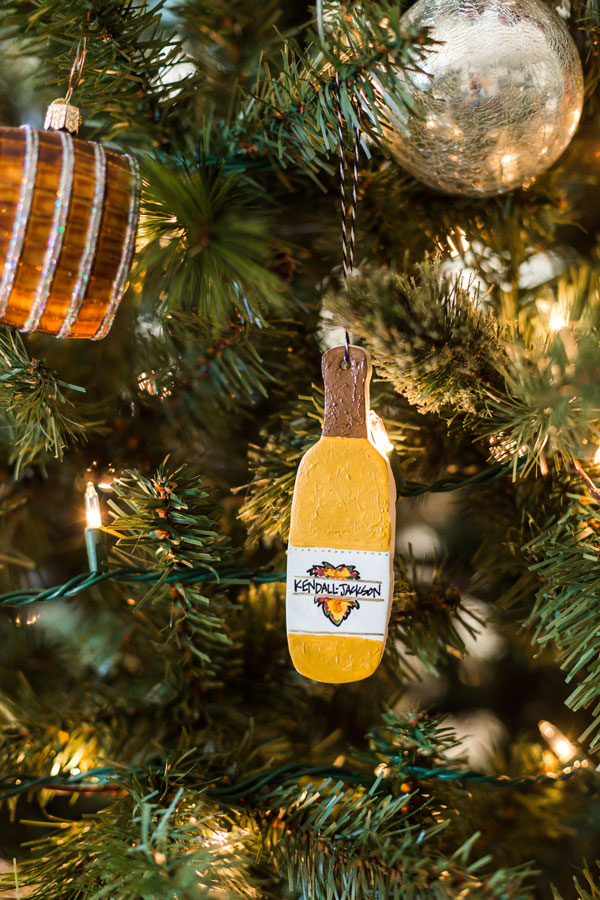
Since I was feeling extra artistic, I decided to go ahead and try to replicate the beautiful Kendall-Jackson leaf while sipping on a glass of Vintner’s Reserve Chardonnay. It turned into a paint and sip party for one because I love how fruit-forward and approachable the Chardonnay is to drink. Plus, it is America’s #1 selling Chardonnay for 25+ years for good reasons! I like to think my artistic talents only got better with each sip. In all honesty, don’t overthink designing your holiday wine ornaments, just have fun with it and enjoy the experience. Whether you decide to keep them for yourself, hang them on the tree or gift them to friends, family and neighbors, everyone will appreciate your handcrafted talents. Shop the best Chardonnay from Kendall-Jackson!
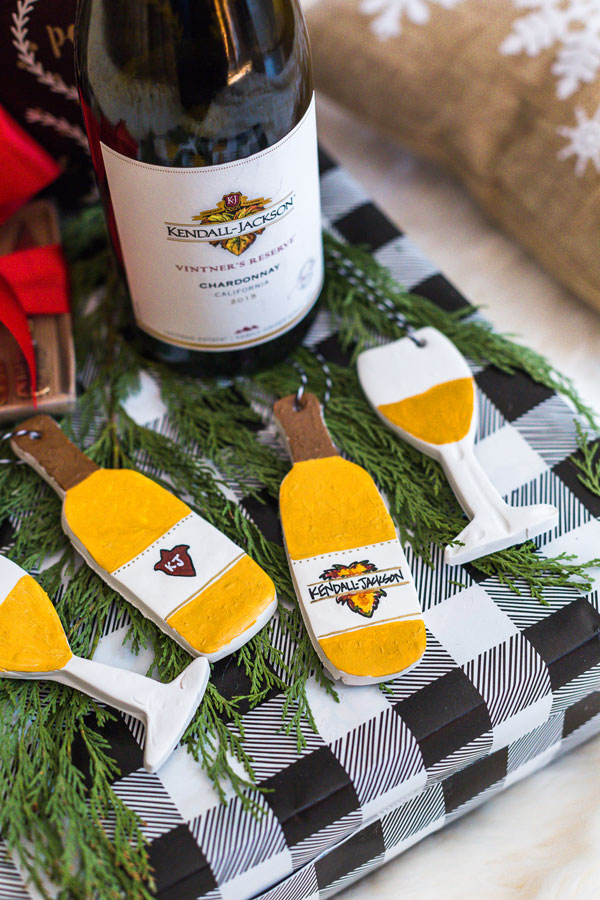
Love this DIY? Share it with your friends or PIN it to save for later!
Written by Kristin Mansky of Modish & Main


