DIY Personalized Game Pieces
Hi there! It’s Molly from Almost Makes Perfect, sharing a really easy and fun DIY for your next game night.
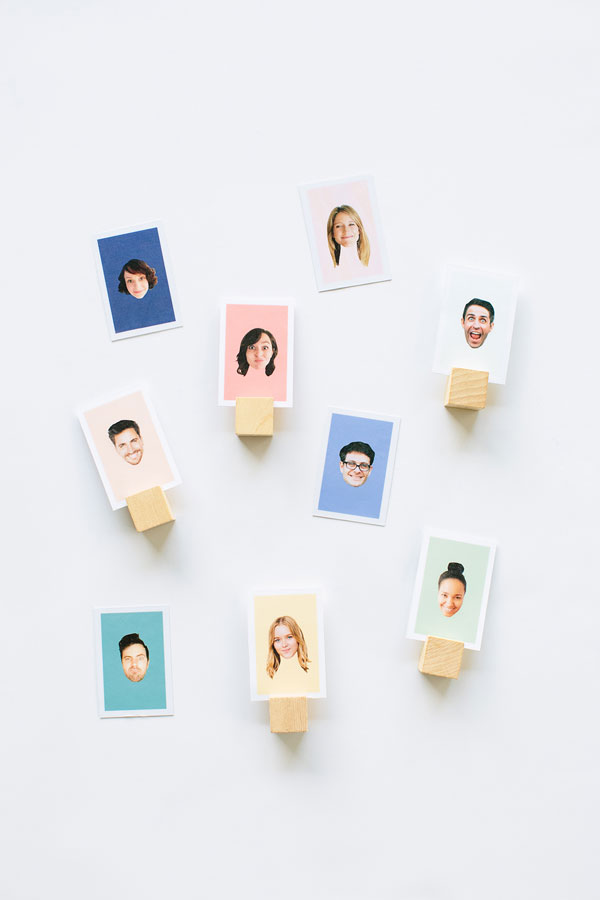
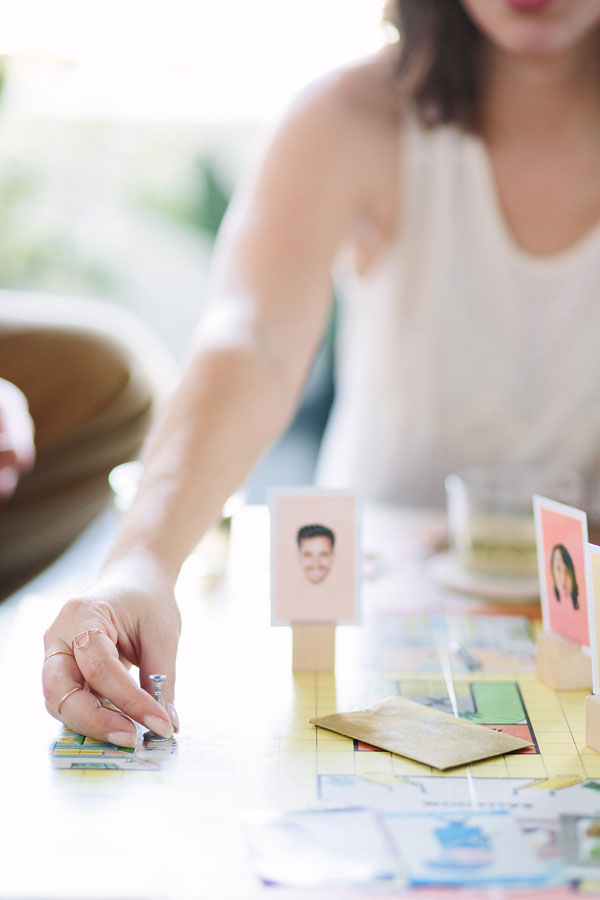
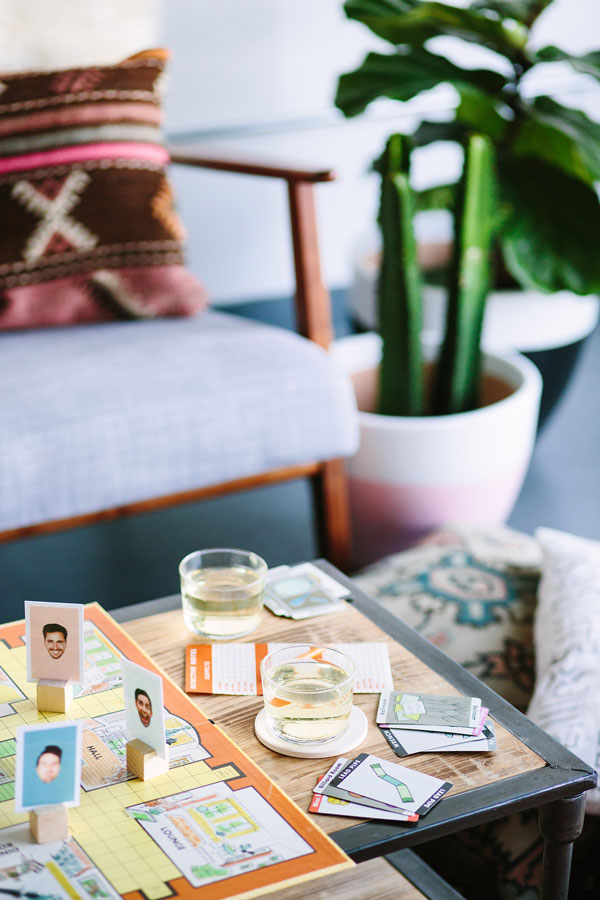
I came up with the easiest way to spruce up your old board games, DIY personalized board game pieces! No more fights about who gets to be the black piece or the top hat. And no more “who’s the thimble again!?” Everyone finally can just be themselves.
YOU WILL NEED :
- photoshop
- a printer
- thick cardstock
- laminator
- 1″ wood craft blocks
- scissors or x-acto
- craft saw
First, collect straight on photos of your friends. Brownie points if you can find silly faces.
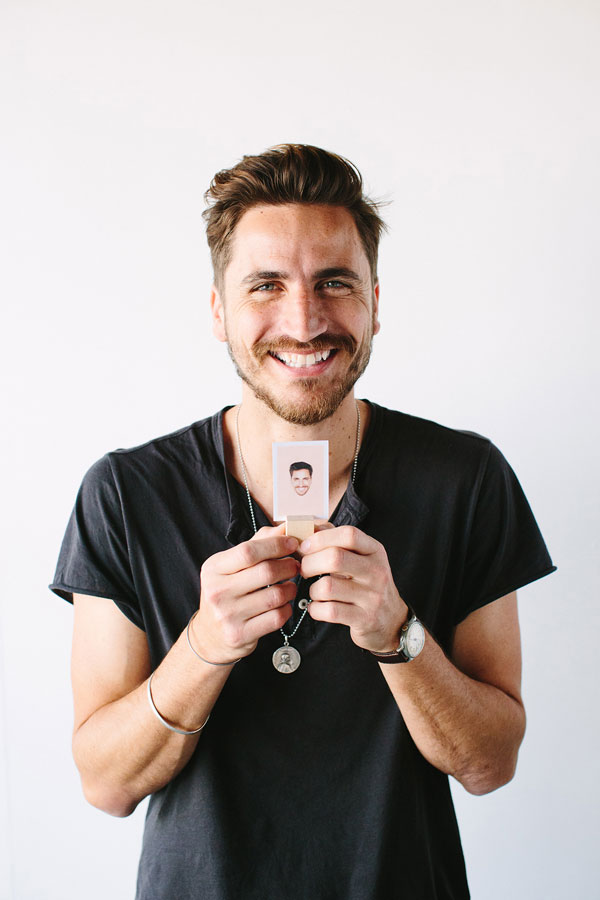
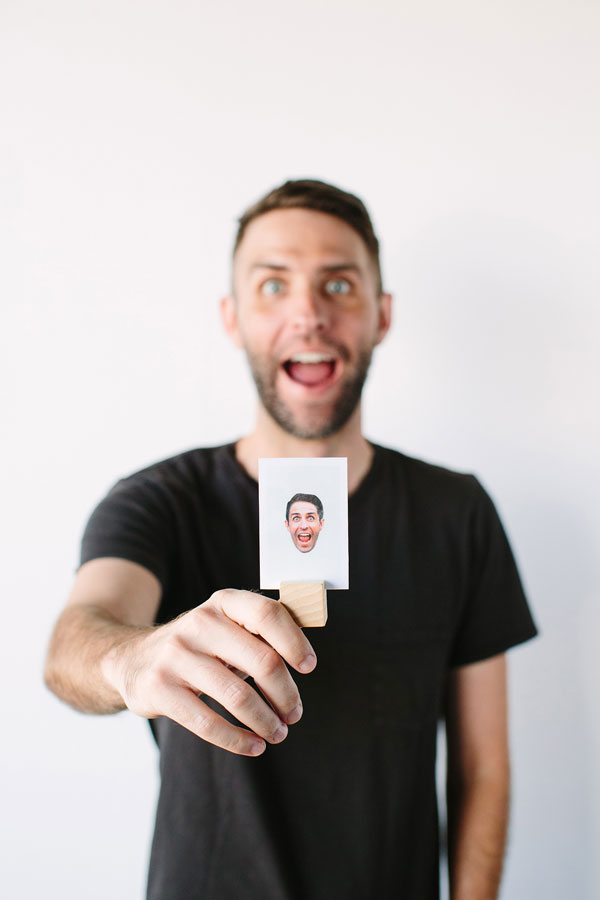
Using Photoshop or another application, cut out their heads and put in front of different color backgrounds. (this will make it easier to spot on the board). I made 9 cards on one 8.5×11 piece of paper, with each card measuring about 2″ x 3″.
If you want them to be double sided and laminated, bring your one sided design with you to a print shop and they’ll make your life a lot easier. (you can also do this at home, but it’ll take a good handful of test prints to get them lined up perfectly front to back. you can also laminate at home if you have a machine, but i took mine to Kinkos and they laminated for $2!)
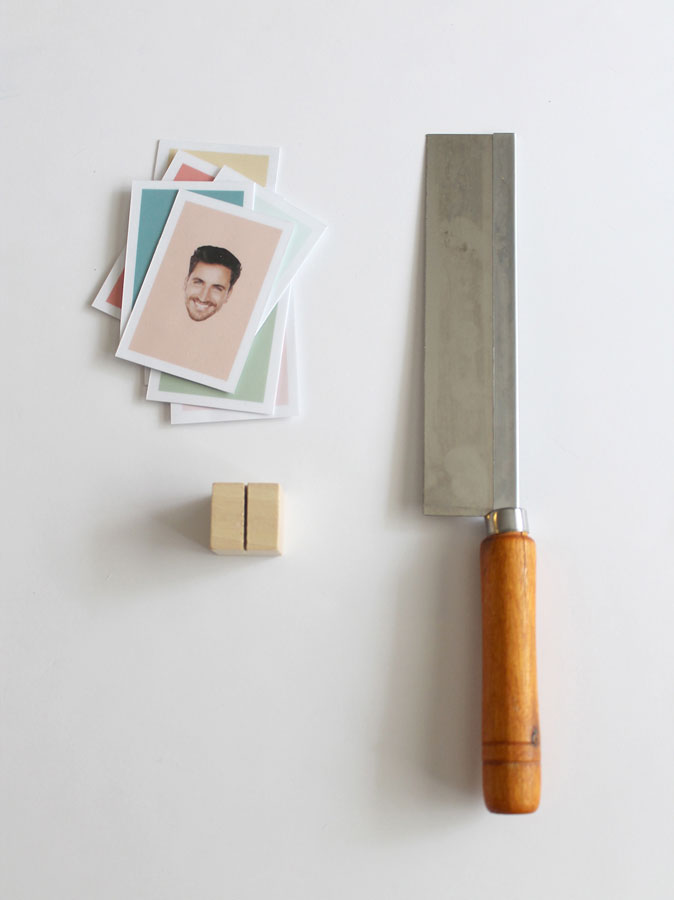
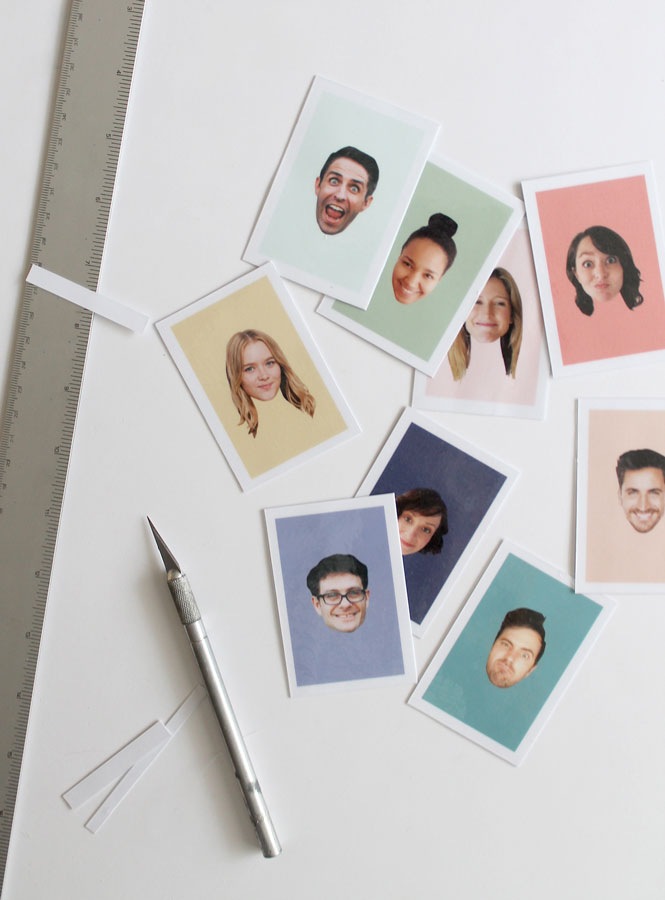
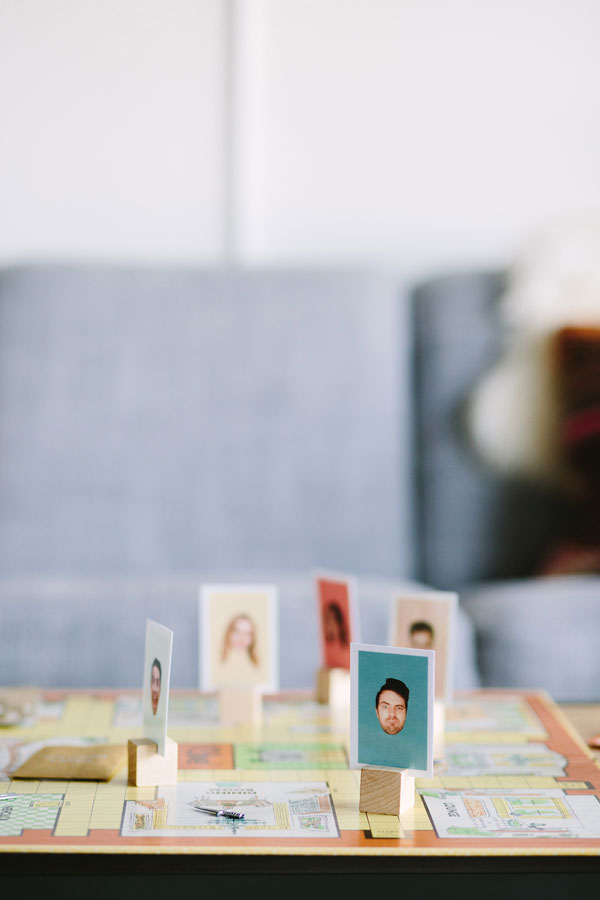
Carefully cut out each card, and then saw a small straight slice into each block. If your cards are laminated, you’ll have to make a wider cut to fit them. Once sawed, stick in your cards and present them at your next game night! I promise they’ll be stoked.
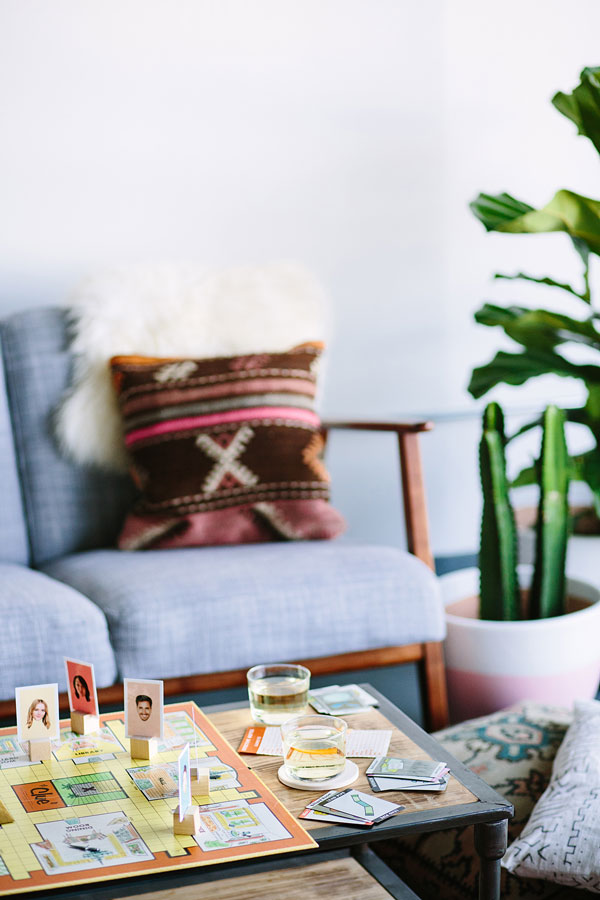
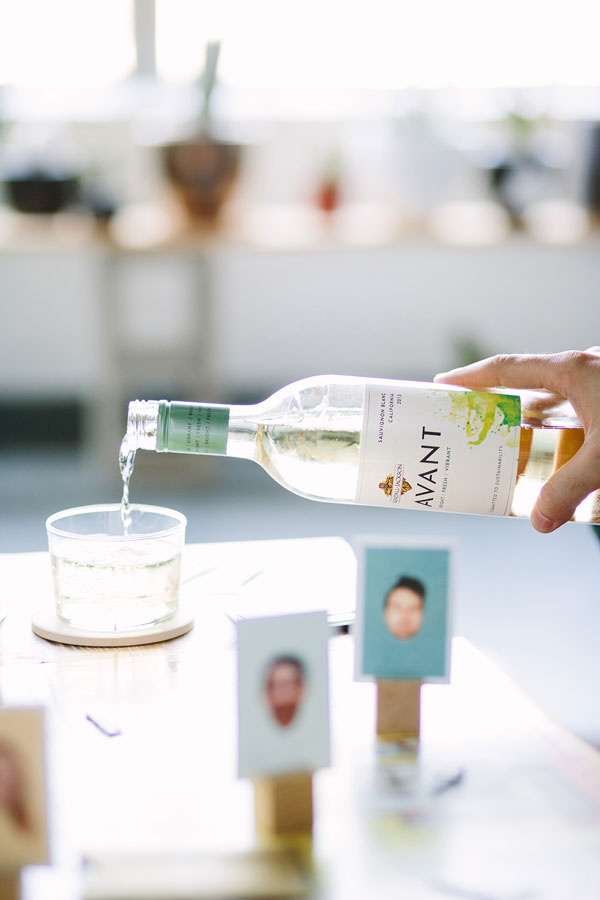
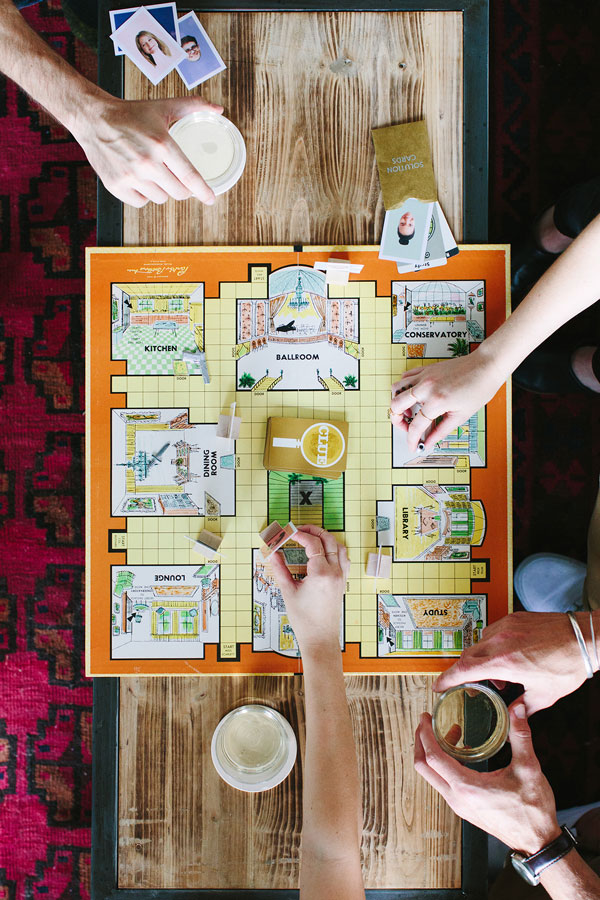


And by the way, my friends and I love a good game night, and we’ve been doing it pretty regularly for the past couple of years. So I definitely know a thing or two about how to host a successful one, which I’m sharing all my tips for on my blog today!
All photos taken by Mary Costa.


