DIY Stamped Clay Coasters
I have an easy DIY project for you today–stamped clay coasters! These are really fun to make, and can be customized with different colors of clay, additional sayings, etc. I think they’d be a great project to make with a bunch of girlfriends–they’re simple and pretty, don’t require any special skills, and the results are instantly gratifying!
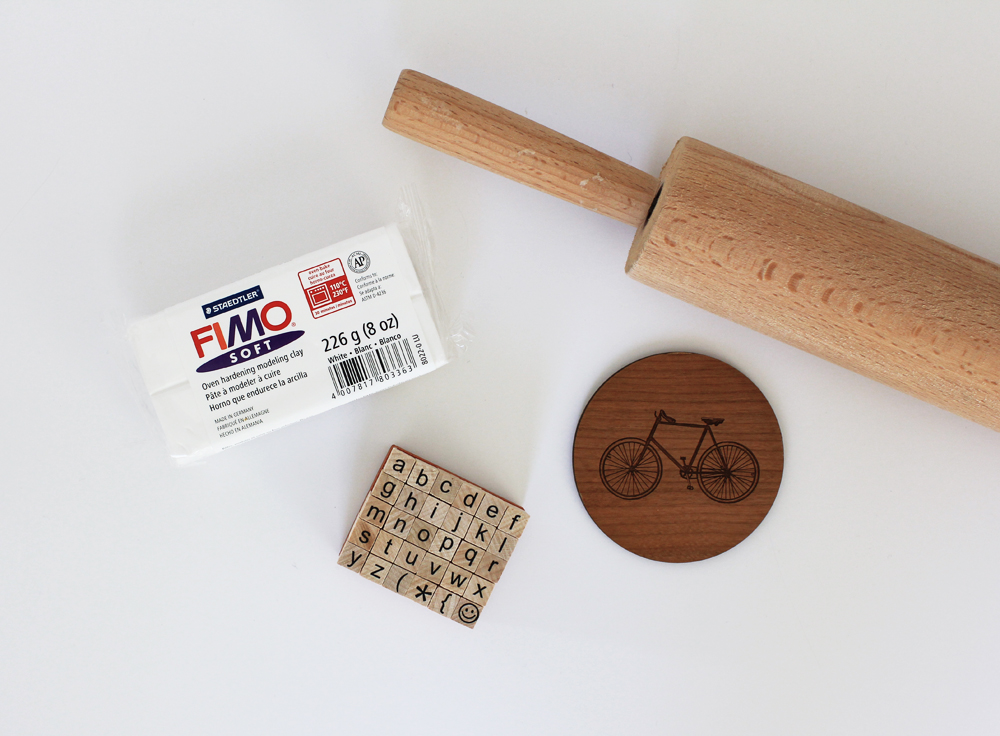
To make these, you will need:
- Oven-bake clay
- A rolling pin
- Alphabet stamps
- An existing coaster (for size)
- An Xacto knife
- An oven
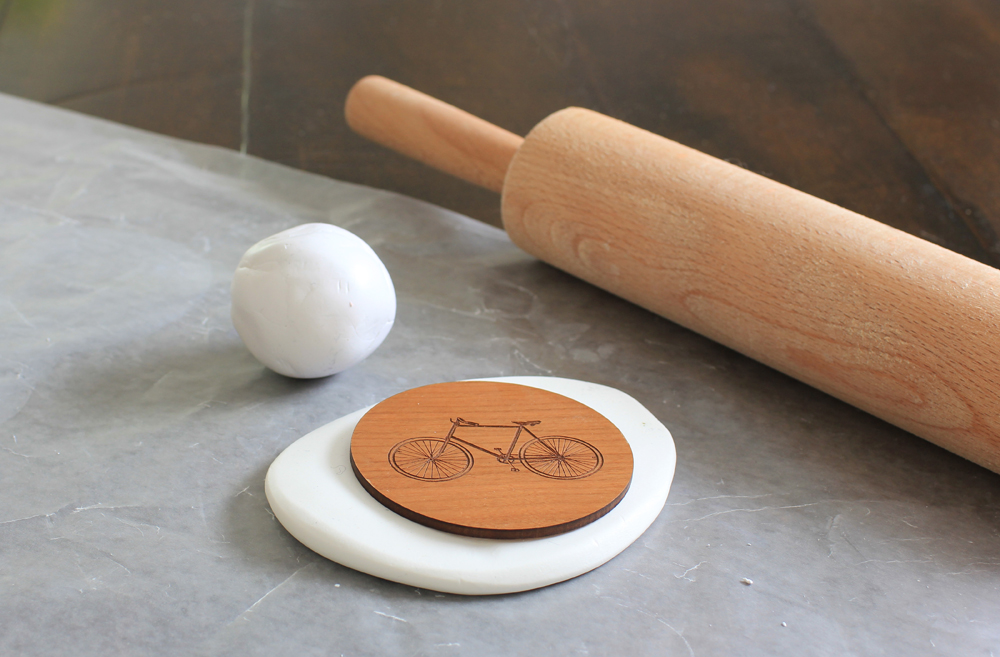 With your hands, make a ball of clay. Then roll it out with your rolling pin until it’s about a quarter inch thick. Set your existing coaster on top to use as a template, then cut away the excess clay with an Xacto knife.
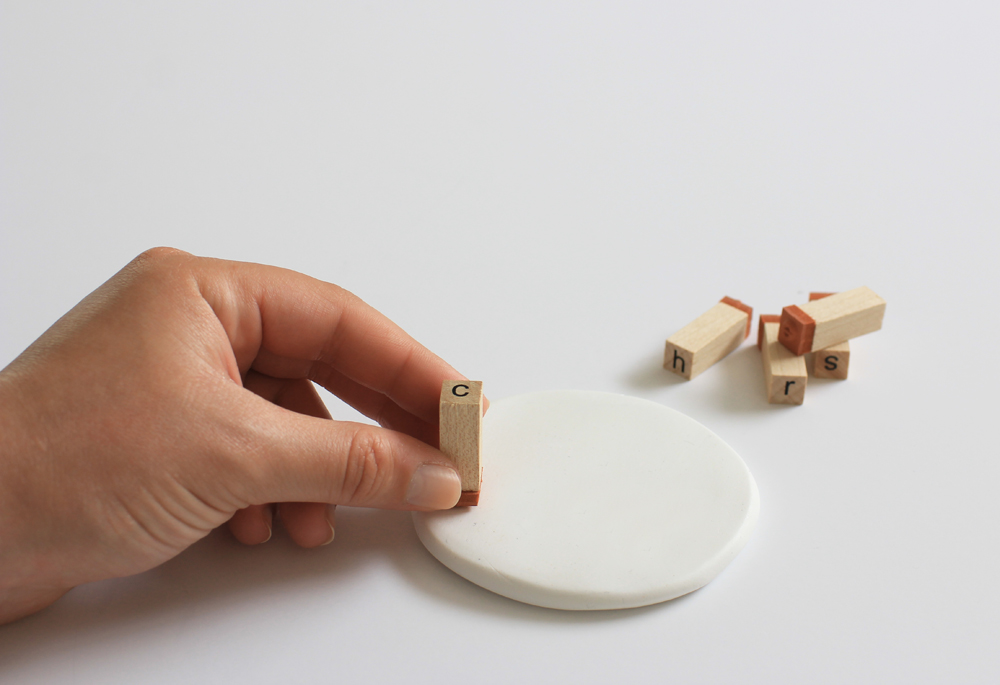
Carefully stamp out the letters for your first phrase. I would recommend practicing on the excess clay first, to get the pressure right. I pressed too hard the first time and had to re-roll my coaster out.
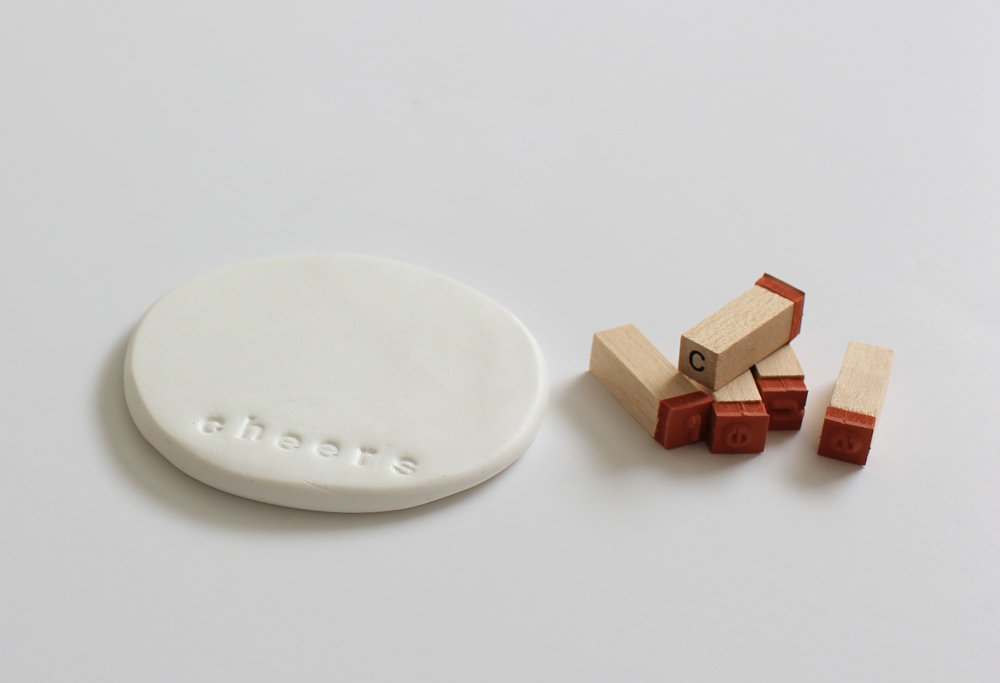
Repeat the process for the remaining coasters. I made three to start with, and picked a few short sayings: drinks on me, the good stuff, and cheers! You could also personalize these with your family’s names, so each person has their own coaster and drinks never get mixed up.
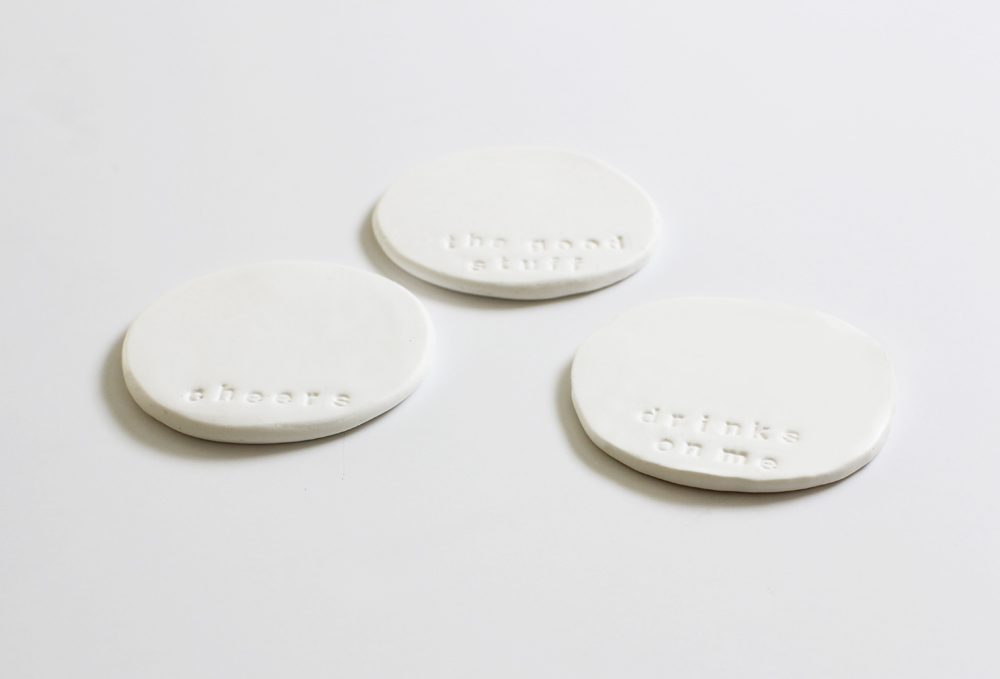
Lastly, bake your coasters according to the directions on the package (I did 275 degrees for 30 minutes). Once they cool off, they’re ready to use!
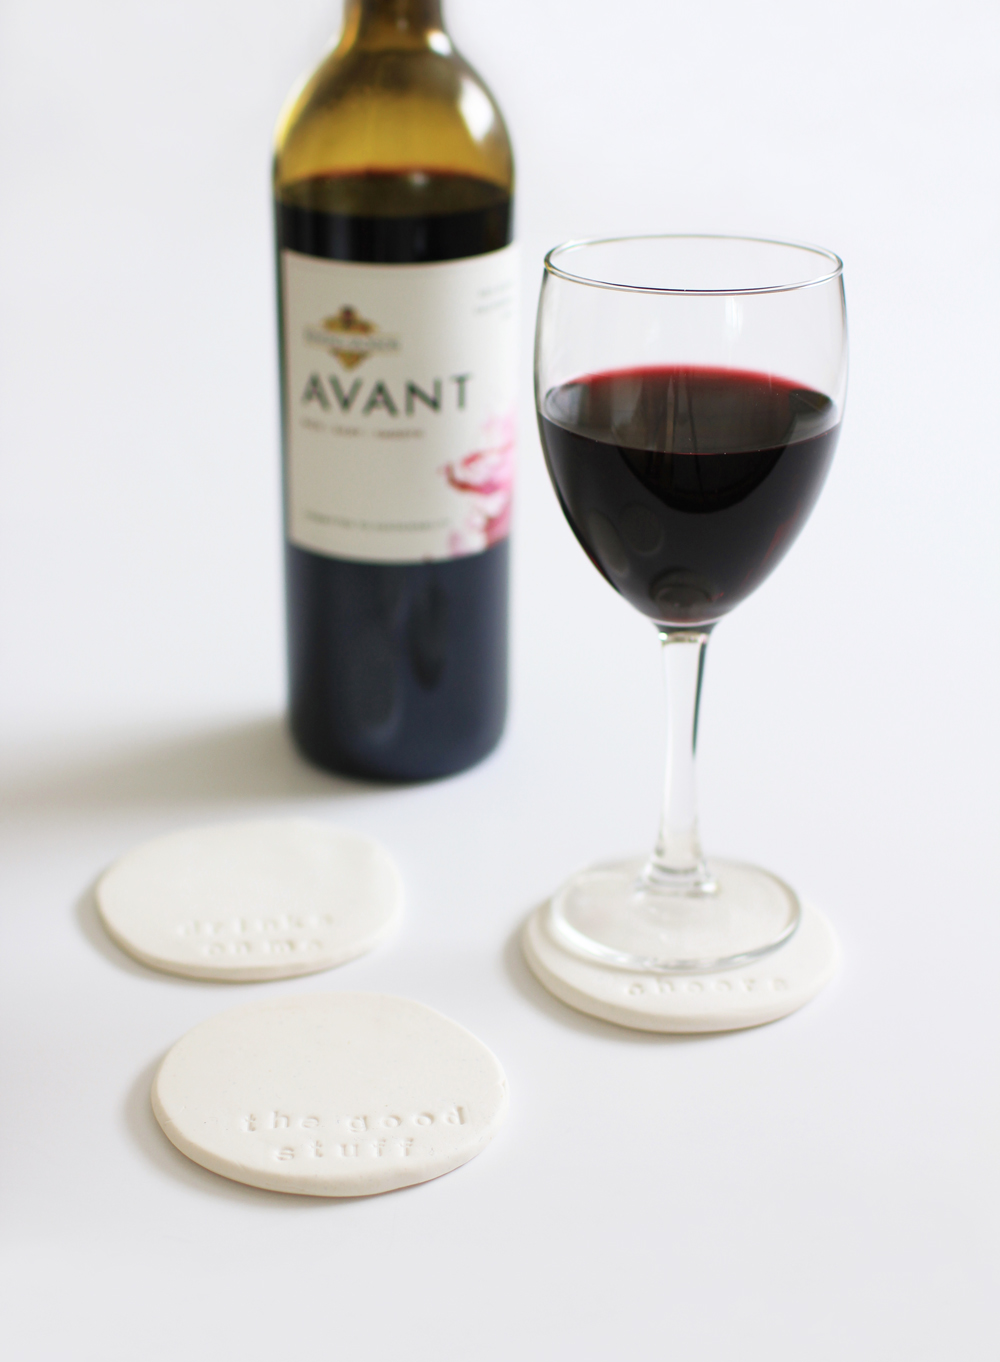
Hope you like these! What sayings would you stamp your coasters with?


